Whilst speaking to one of my Australian Dragon Dice playing friends yesterday, we discussed the expansion of the ‘tutorial’ aspect of this blog at some length.
I pointed out that, unfortunately, the Allen household is not in possession of a lot of the the available dice in the game and, as such, I am limited in which rules I am able to illustrate. However, I do already possess quite a lot of dice that I do not yet know how to use, tactically speaking, and thought that it might be a good idea to drag out as many as possible of them in a single multi-player game, and to see what I can do with them.
I have made up four armies, one of which is an old favourite and I feel confident in its use, and my ability to illustrate interesting ways of working the dice, a second is know to me, but I am still working out how to use it successfully, and the other two are basically new discoveries, having played both a very limited number of times. I have also added a few items that I have never used at all before.
This battle will be in small bite-sized pieces, and I am hoping that readers, especially those of you in the Facebook group, will assist me by suggesting ways that I can illustrate interesting tactical plays along the way.
Although I like these battle illustrations to be ‘natural’ as far as possible, if I think that I can illustrate an interesting tactical ploy by ‘fiddling the rolls’ slightly, I am happy to do that, as long as it is not something that relies on a roll with no real probability of happening in real life, as this will not illustrate natural game play. This means that, if I need an extra one point of magic to summon an elemental dragon to deliberately pit it against an elemental/ivory hybrid with the purpose of showing how the game mechanic works for this kind of dragon encounter, then I will be happy to ‘fix’ the extra magic point. I will not, however, be making sure that every single unit in a defending army rolls their maximum possible amount of saves in order to avoid taking any damage. This blog is designed to be instructional, and I will therefore be making it so, without suffering loss of credibility.
The Skirmishers
As stated in the introduction, I have 4 armies that I will be using, all of 36 Health. The Selumari, which is primarily a missile and manoeuvre army, but with a couple of added spices in the form of a Trebuchet, a Heartseeker and two Gryphons, all of which I have used on numerous occasions, and I have knowledge on how to ‘drive’ them. I have brought a pair of Air/Water dragons to the party, in the hope that they might get summoned by one of the combatants and pitted against both elemental and hybrid types.
The Undead army contains the Minor Death, which has been featured in this blog a few months ago. The Undead rare units, as well as the monsters, have interesting SAIs, and I am hoping that there will be opportunities arising where Scare and Vanish can both be seen in action, as well as Plague and Slay. Again, I have put in some hybrid dragons in the hope that they might get some air time.
The Vagha army is the one that sadly loses to Selumari every time that they engage, usually due to some mega-result from Elf archers. I have designed this army to be magical and to be the source of a lot of dragons being summoned. They bring with them Fire/Ivory hybrid which I hope to use for illustration of dragon interaction.
The feral are here because they are my latest babies and I have no idea how to use them as yet. I do know that they feralize every time and as such, like the Undead, are difficult to kill off. I am hoping that this will give us a long battle with plenty of opportunity for seeing the various SAIs in use.
The Set-up
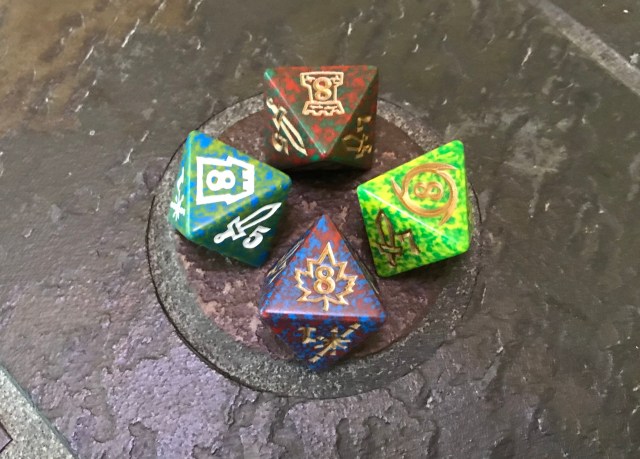
The armies all offer their Frontier dice for selection. They look like this:

The choice is from (from 12 o’clock clockwise)
- A Feyland Castle
- A Swampland Vortex
- A Wasteland Grove and
- A Flatland Tower
The first three of these are Advanced terrains, which can only be used at the Frontier. More details can be found in the Dragon Dice Wiki.
All Horde armies are rolled simultaneously for order of play.

If nothing else, it creates a nice work of art. These rolls are counted up.

The manoeuvre result scores are Vagha – 7, Undead – 12, Selumari – 11, Feral 3
Undead will go first and the Selumari select the Flatland Tower as the Frontier terrain. The other terrain die are not used.
Order of play is therefore:- Undead, Selumari, Vagha and, lastly Feral. Home terrains and armies are now set up.

The Undead now place their Horde army at an enemy terrain, but not the frontier.

Having seen the poor performance of the other armies in their manoeuvres, they take on the Selumari, hoping to keep them away from missile capability.

The Campaign army are placed at any other terrain where they have no army. In this case, they go to the Frontier.

Dragons, Dragonkin and Minor Terrains are all ready for summoning at a later stage. The Selumari now do the same, deploying their Horde at an enemy terrain, then their Campaign army at any other terrain where they have no army.

The Horde takes on the Feral army and the Campaign army go to the Frontier. The Vagha next.

They take on the Undead at the Highlands.

The campaign army noses in on the Feral’s home terrain. Lastly, the Feral deploy.

We now have all home armies roll their terrains and the Selumari have the honour of rolling the Frontier die, as they selected it for use.

Undead Home – Face 6 
Selumari Home – face 6 
Vagha Home – Face 4 
Feral Home – Face 4 
the Frontier – Face 4 
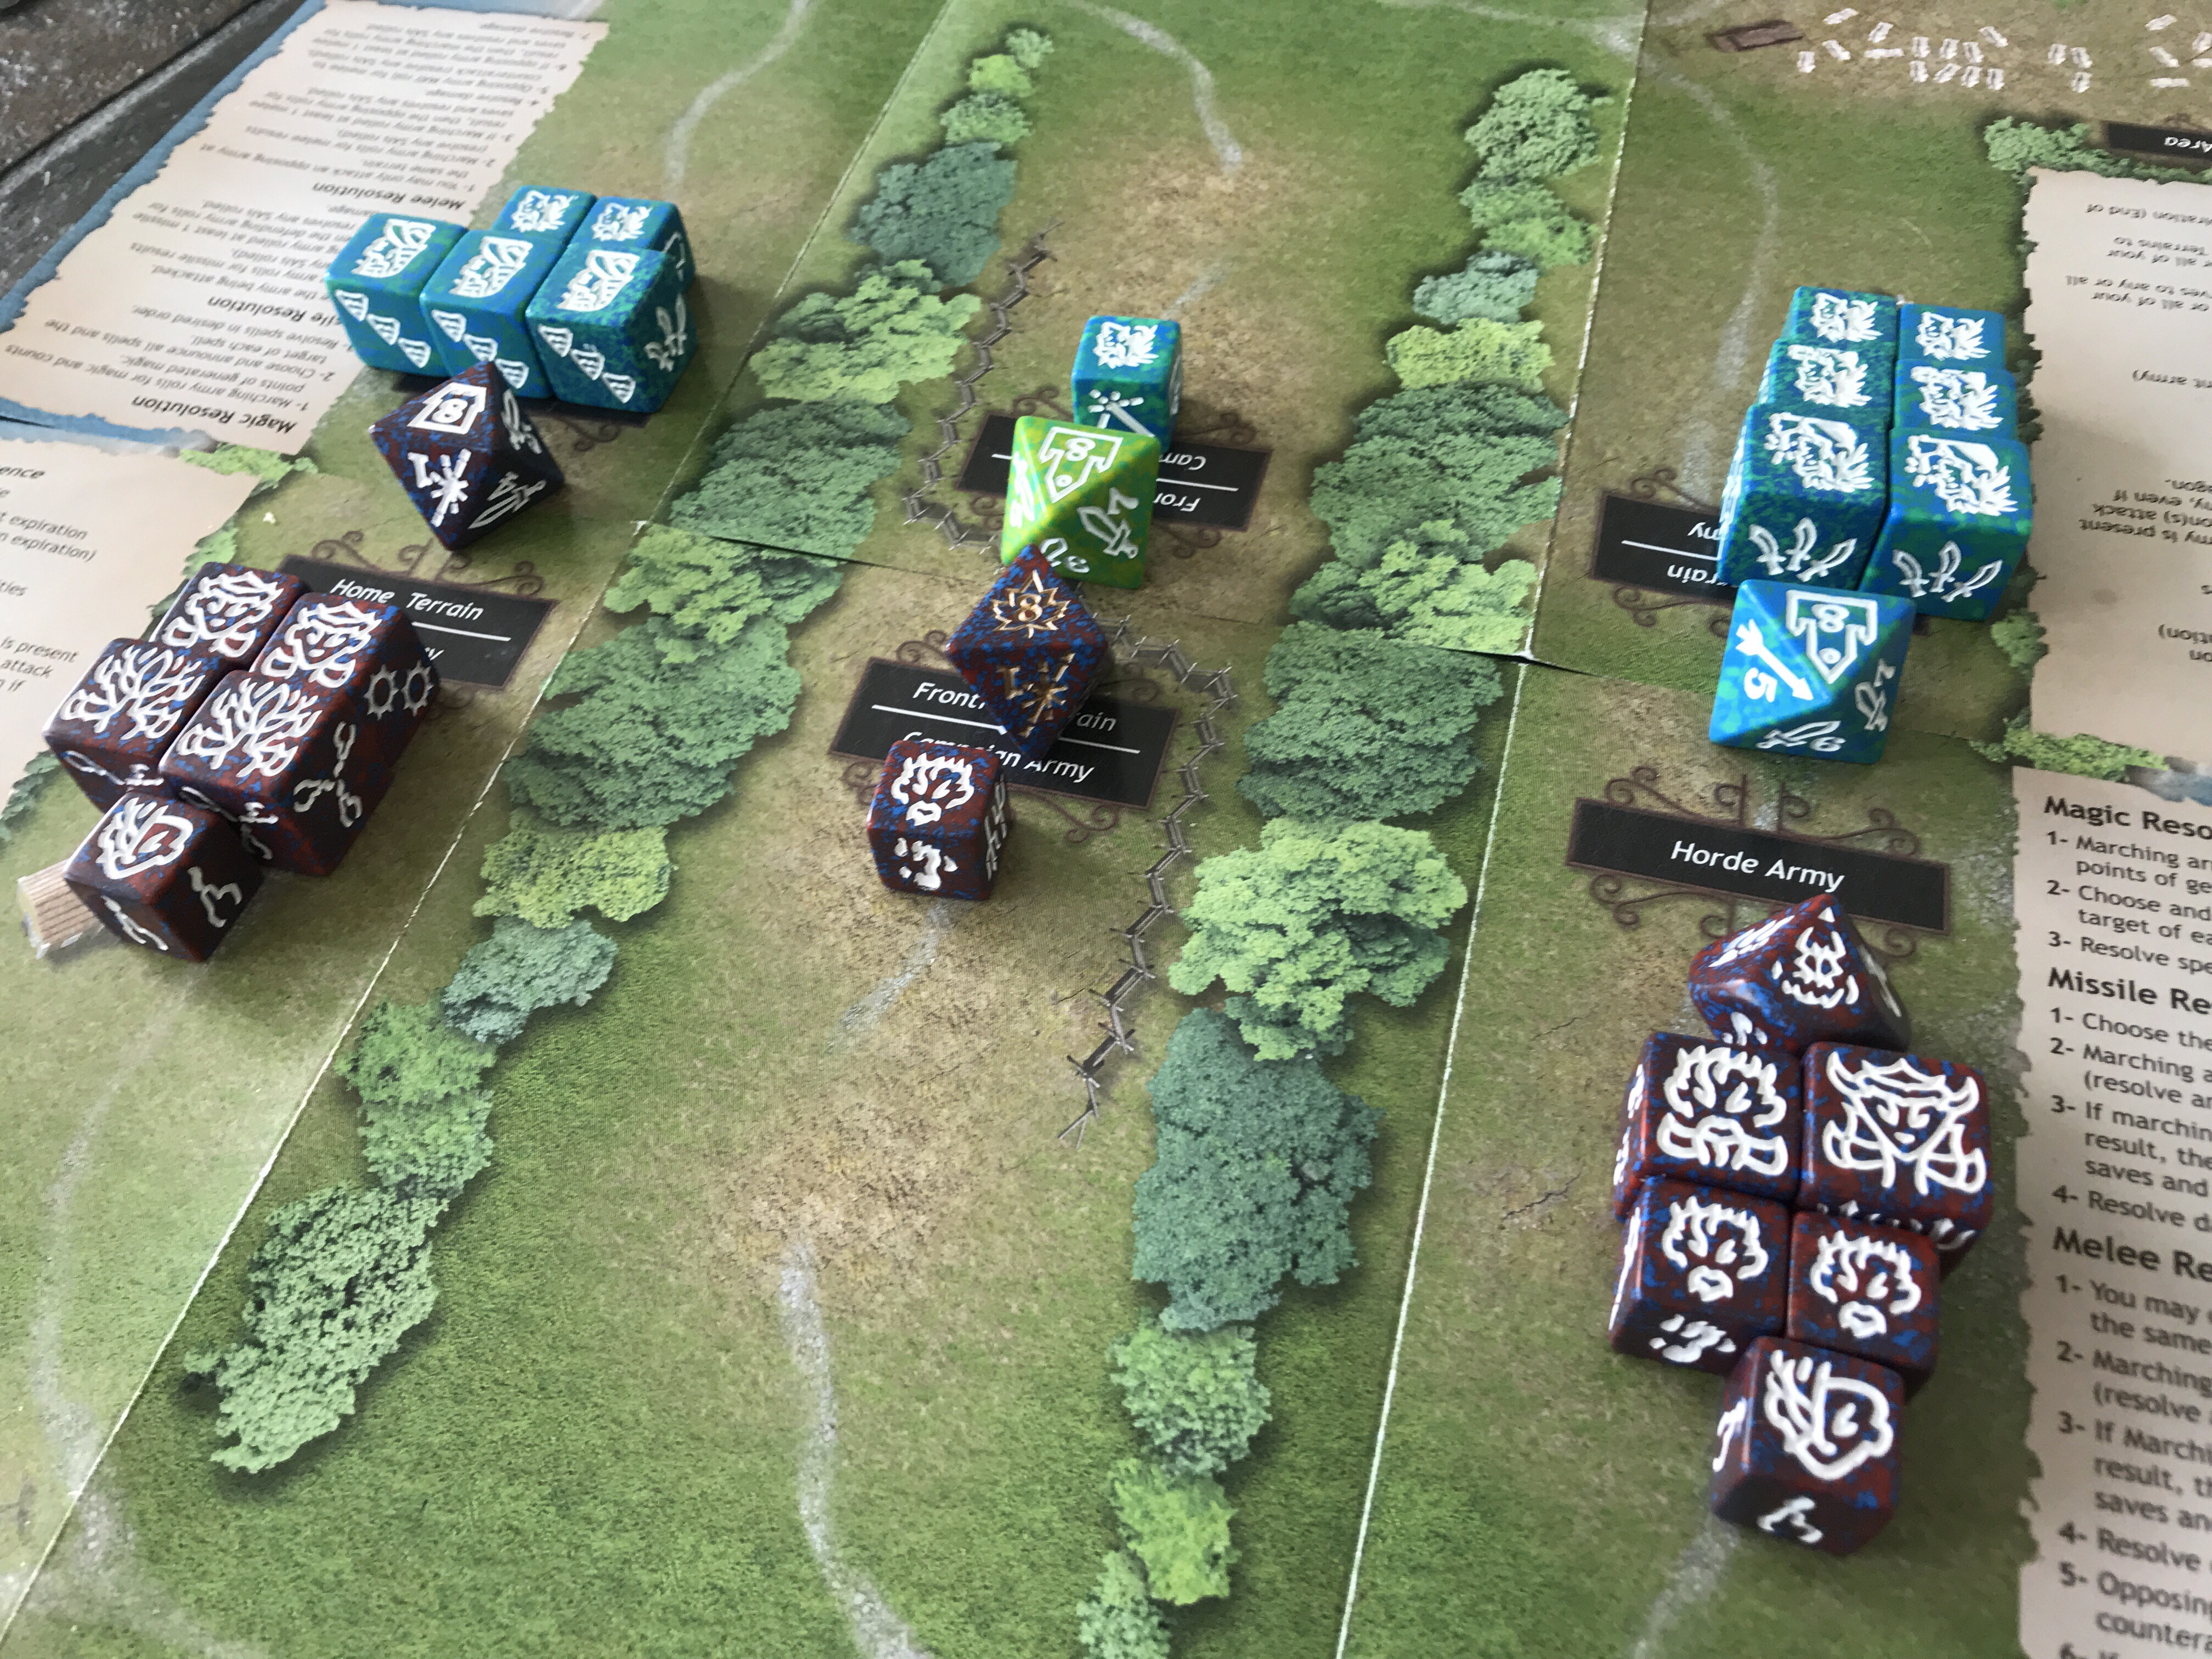
The Drone View of the Battlefield
The Troops are now ready to fight. This will be shown after this commercial break…….


